Overview
If you already have a Google Tag Manager container set up on the website you’re running a WooRank project on, this can be a straightforward way to setup the WooRank Assistant.
If you’re unfamiliar with Google Tag Manager, you can find out more about it here. However, we wouldn’t recommend trying to install the WooRank Assistant with this method if you (or a colleague) don’t have experience using Google Tag Manager (GTM).
Requirements
Before continuing, check that you have the following:
- An active WooRank account
- A Google Tag Manager account with a container already installed on the website
Instructions
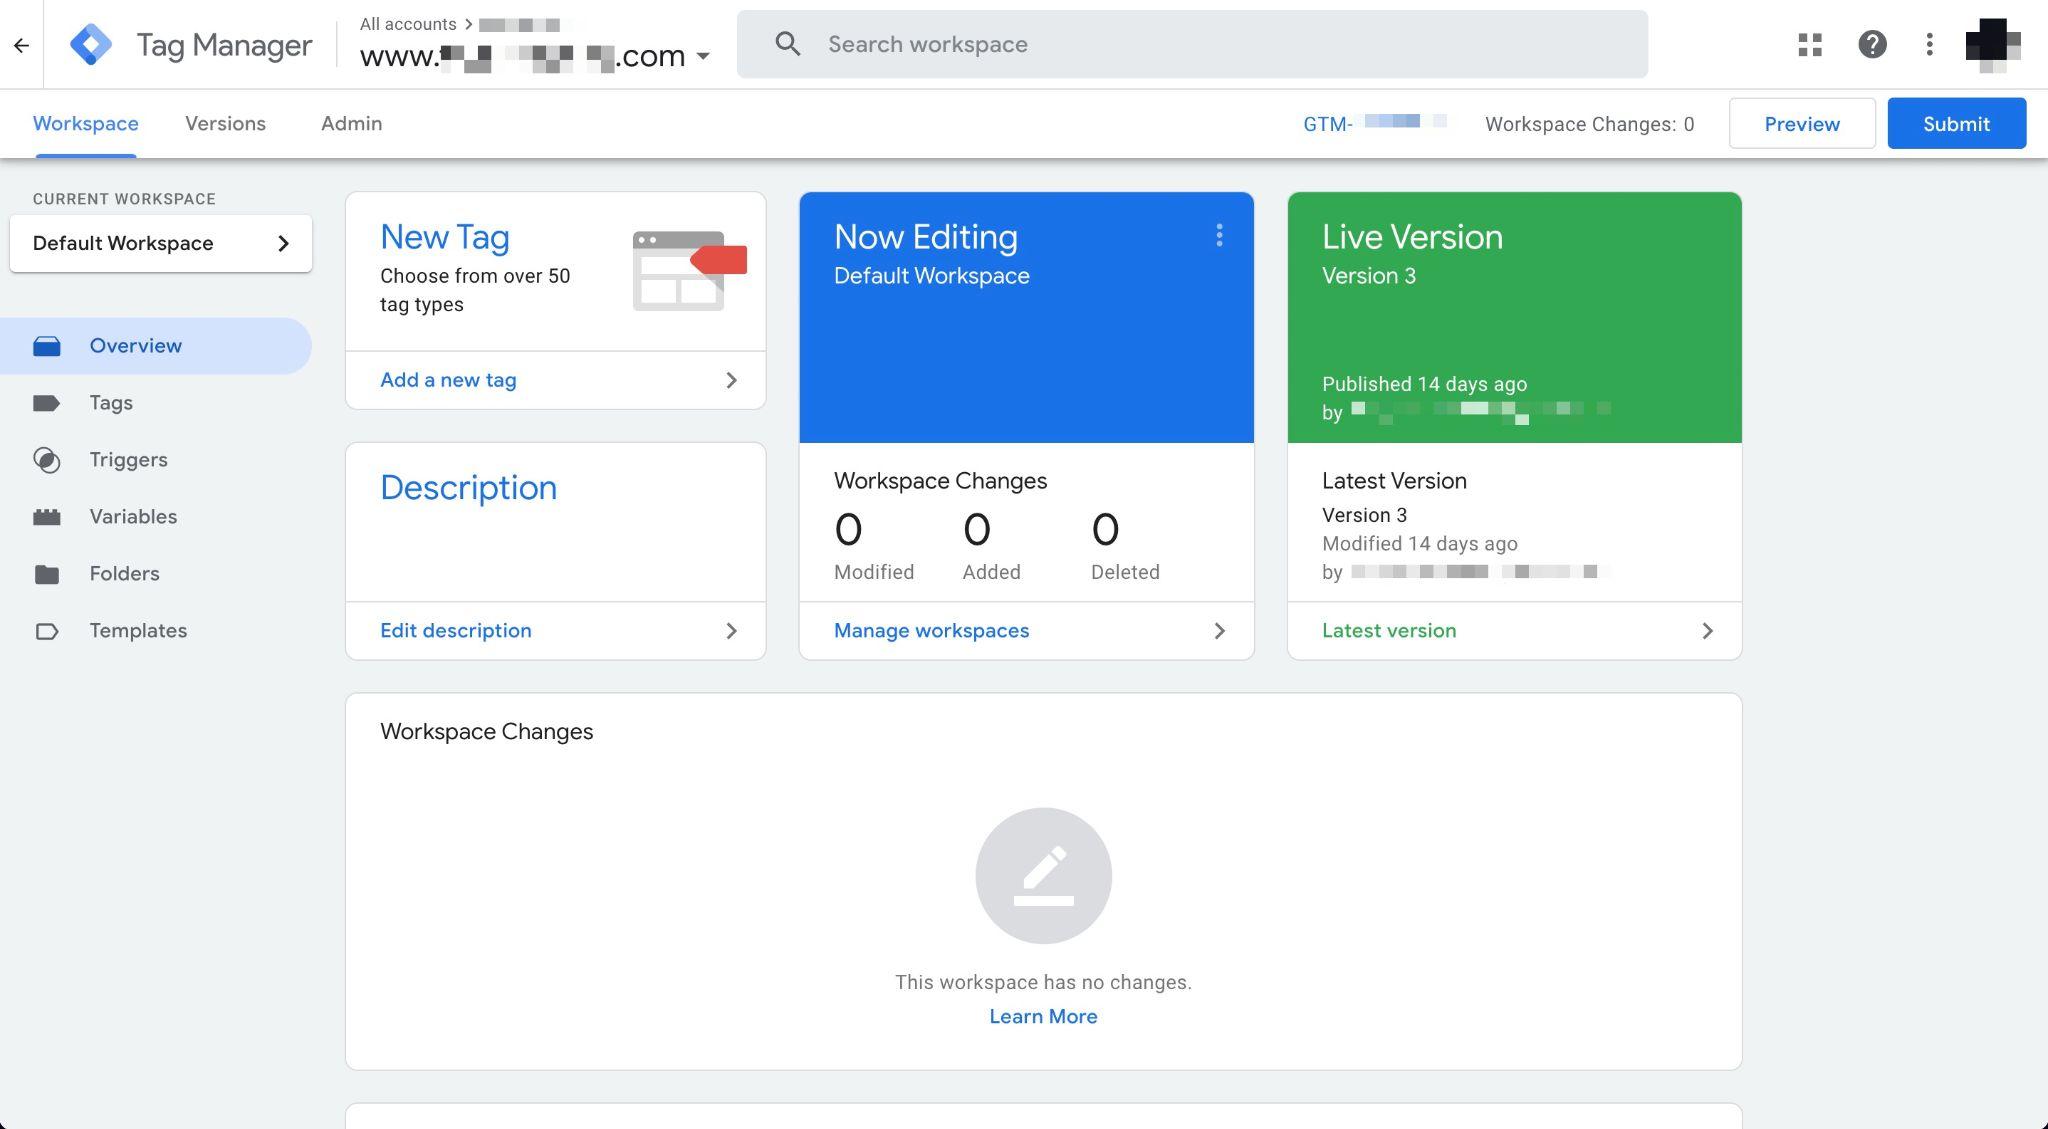
- Log in to Google Tag Manager and open the container for your website. You should see the workspace for your website like in this screenshot.

- Click on “Add a new tag”.

- At this point, we suggest you rename this tag to “WooRank Assistant”. Then click on “Tag configuration”.

- You’ll now have the option to choose which tag type you’re going to install. Scroll down the list until you find “Custom HTML”.

- Select that and you’ll see the Tag Configuration screen, which should look like the screenshot below.

- Now open another browser tab, log in to WooRank, open the Project for the website and go to the Assistant page.

- Click “Install the Assistant”.

- Copy the WooRank Assistant code snippet using the button provided to avoid cutting off any of the code.

- Go back to the browser tab with Tag Manager open and paste the code snippet into the empty HTML box.

- Scroll down and click on the section labelled “Triggering”.

- Select “All Pages”.

- With this tag now configured, your screen should look like this. Click “Save”.

- You’ll be taken back to your workspace where you should be able to see “WooRank Assistant” in a list of Workspace Changes. Let’s use the Preview function before publishing to check we’ve set everything up correctly.

- Once the Tag Assistant loads in a new tab, check that your website’s URL is entered correctly in the text field before clicking “Connect”.

- This will open your website in another tab. You should see a small modal window in the bottom right of your browser saying “Tag Assistant Connected”, you might also see the WooRank Assistant load in the bottom left corner.

- Head back to the Tag Assistant tab and click “Continue”.

- The Tag Assistant will show you all the tags that did or did not fire when your website was loaded. If you followed all of the previous steps correctly, you should see the WooRank Assistant tag in the list of “Tags Fired”.

- Go back to your original Tag Manager tab and click “Submit”. Please note that the WooRank Assistant is not actually installed until you publish these changes.

- As you would do normally for any changes to your GTM container, add a Version Name and a Description so that your colleagues (or your future self) can see why these changes were made. Make sure that “Publish and Create Version”is selected and that you are publishing to the “Live” environment.

- Click “Publish”.

- It might take a few moments to publish these changes, after which you’ll see confirmation. You should see the WooRank Assistant among the list of version changes.

- Head back to the WooRank Assistant page and click the “Verify Installation” button.

- WooRank will go and check your site to confirm if the code snippet has been installed, this may take a few moments.

- You should see a message stating that the WooRank Assistant is successfully installed.

If the installation cannot be verified - either by WooRank or the GTM Tag Assistant, double check that you have followed the instructions correctly.